Brought to you by PV Exteriors – Trusted Roofing Experts in PA, NJ, MD & DE
Replacing your roof is a major investment—and one of the most important improvements you can make to protect your home. Whether you’re dealing with storm damage, age-related wear, or planning an upgrade, it’s natural to wonder: What should I expect during a roof replacement?
In this guide, the team at PV Exteriors walks you through the full process—from inspection to final cleanup—so you can feel confident and prepared every step of the way.
🔍 1. Initial Roof Inspection and Estimate
The process begins with a professional roof inspection. A certified PV Exteriors roofing specialist will assess the condition of your current roof, looking for:
-
Missing or damaged shingles
-
Leaks or water stains in the attic
-
Soft spots or sagging
-
Mold or rot in decking or underlayment
After the inspection, you’ll receive a detailed estimate outlining the scope of work, materials, timeline, and cost.
👉 Pro Tip: PV Exteriors offers free inspections and transparent quotes with no obligation.
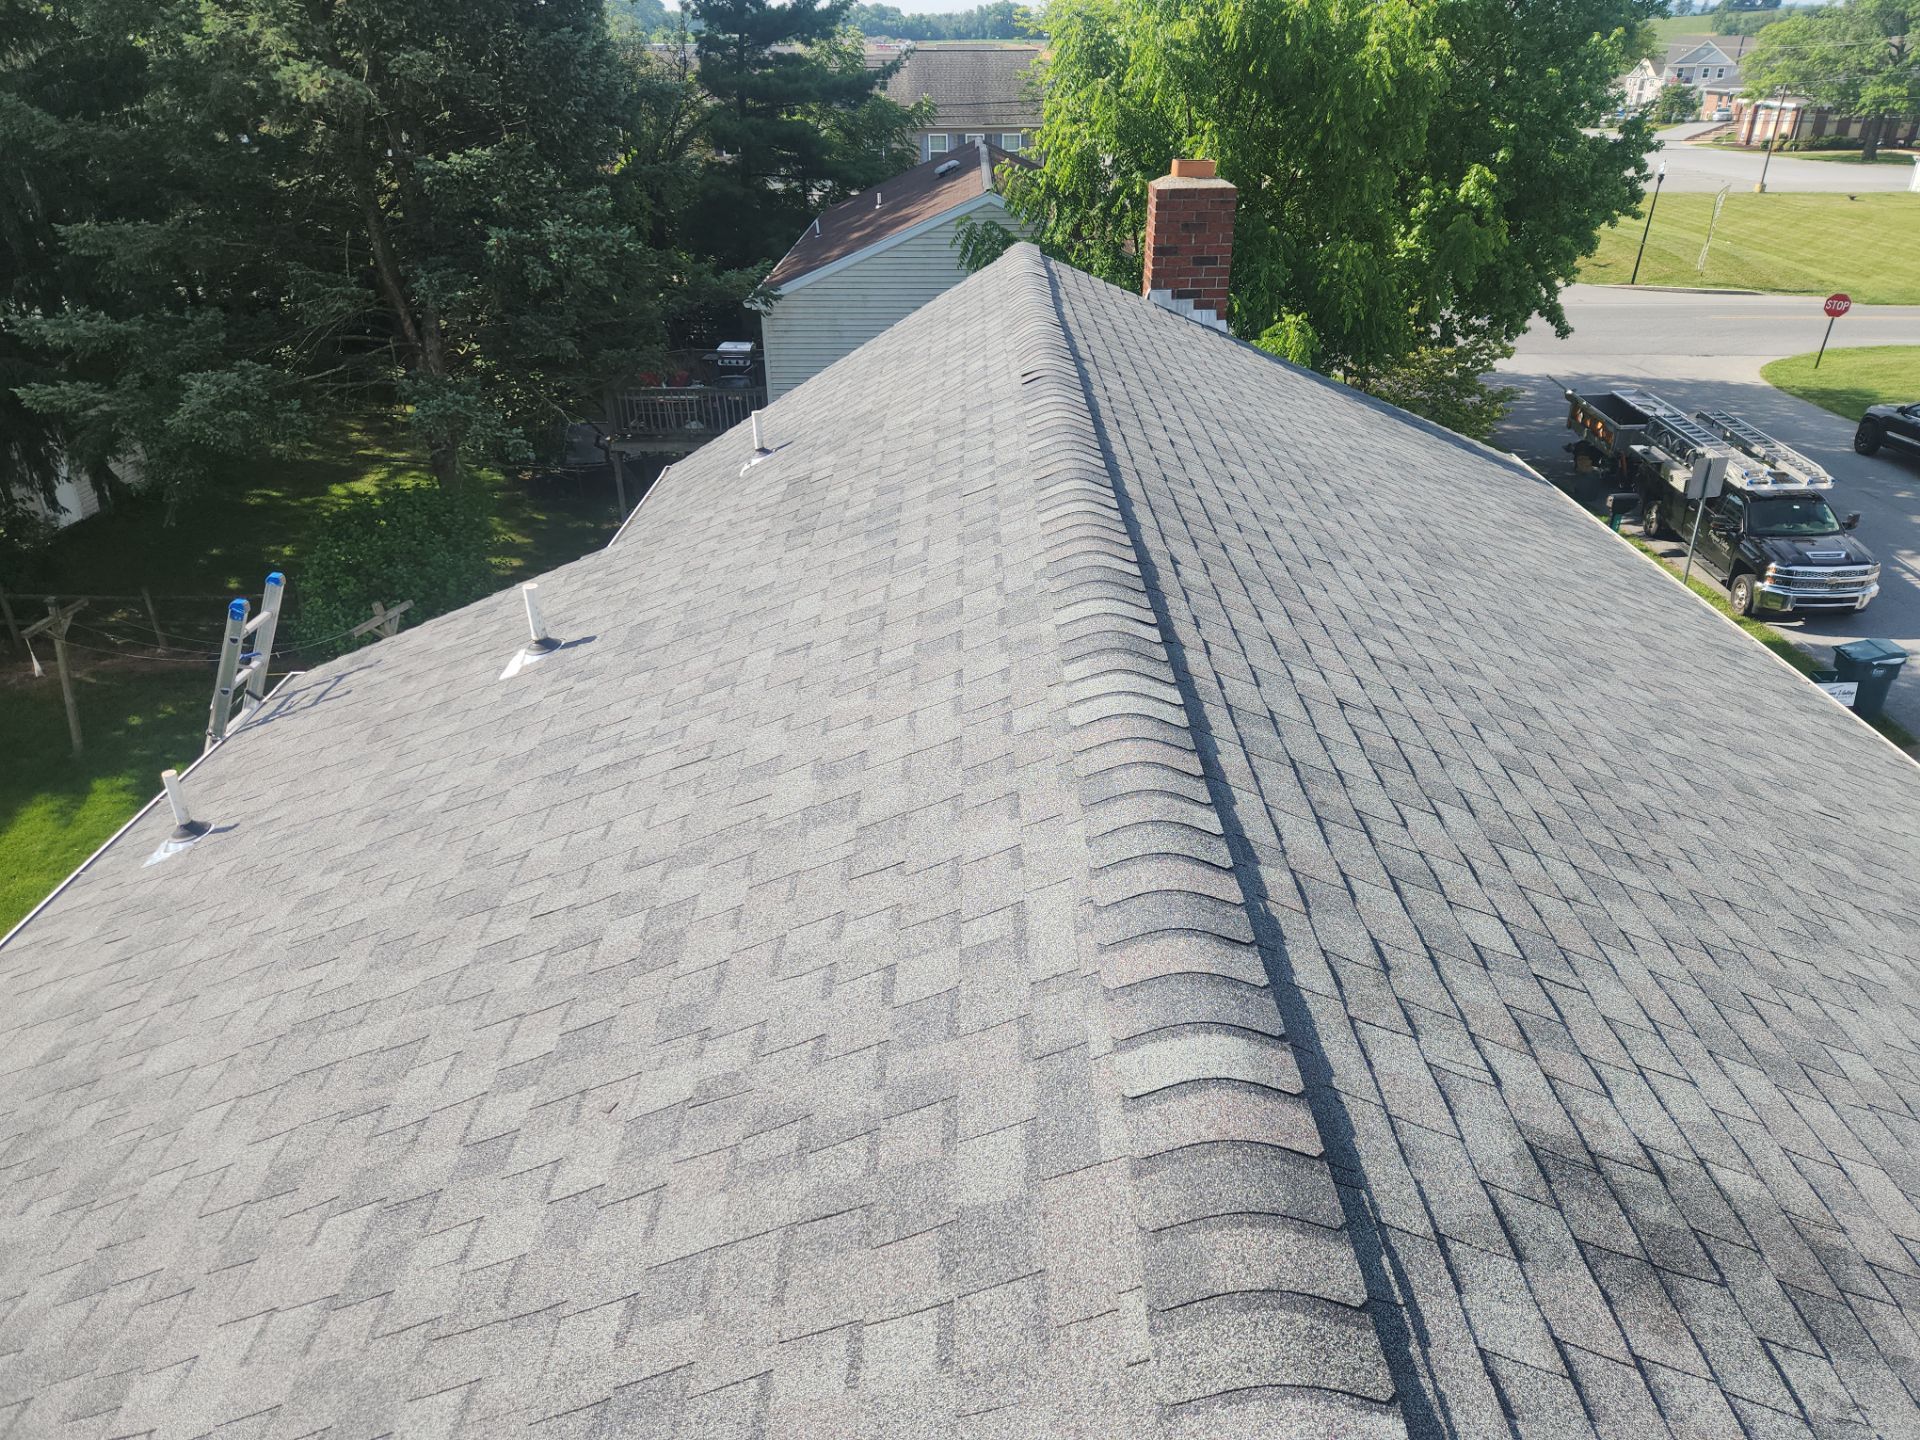
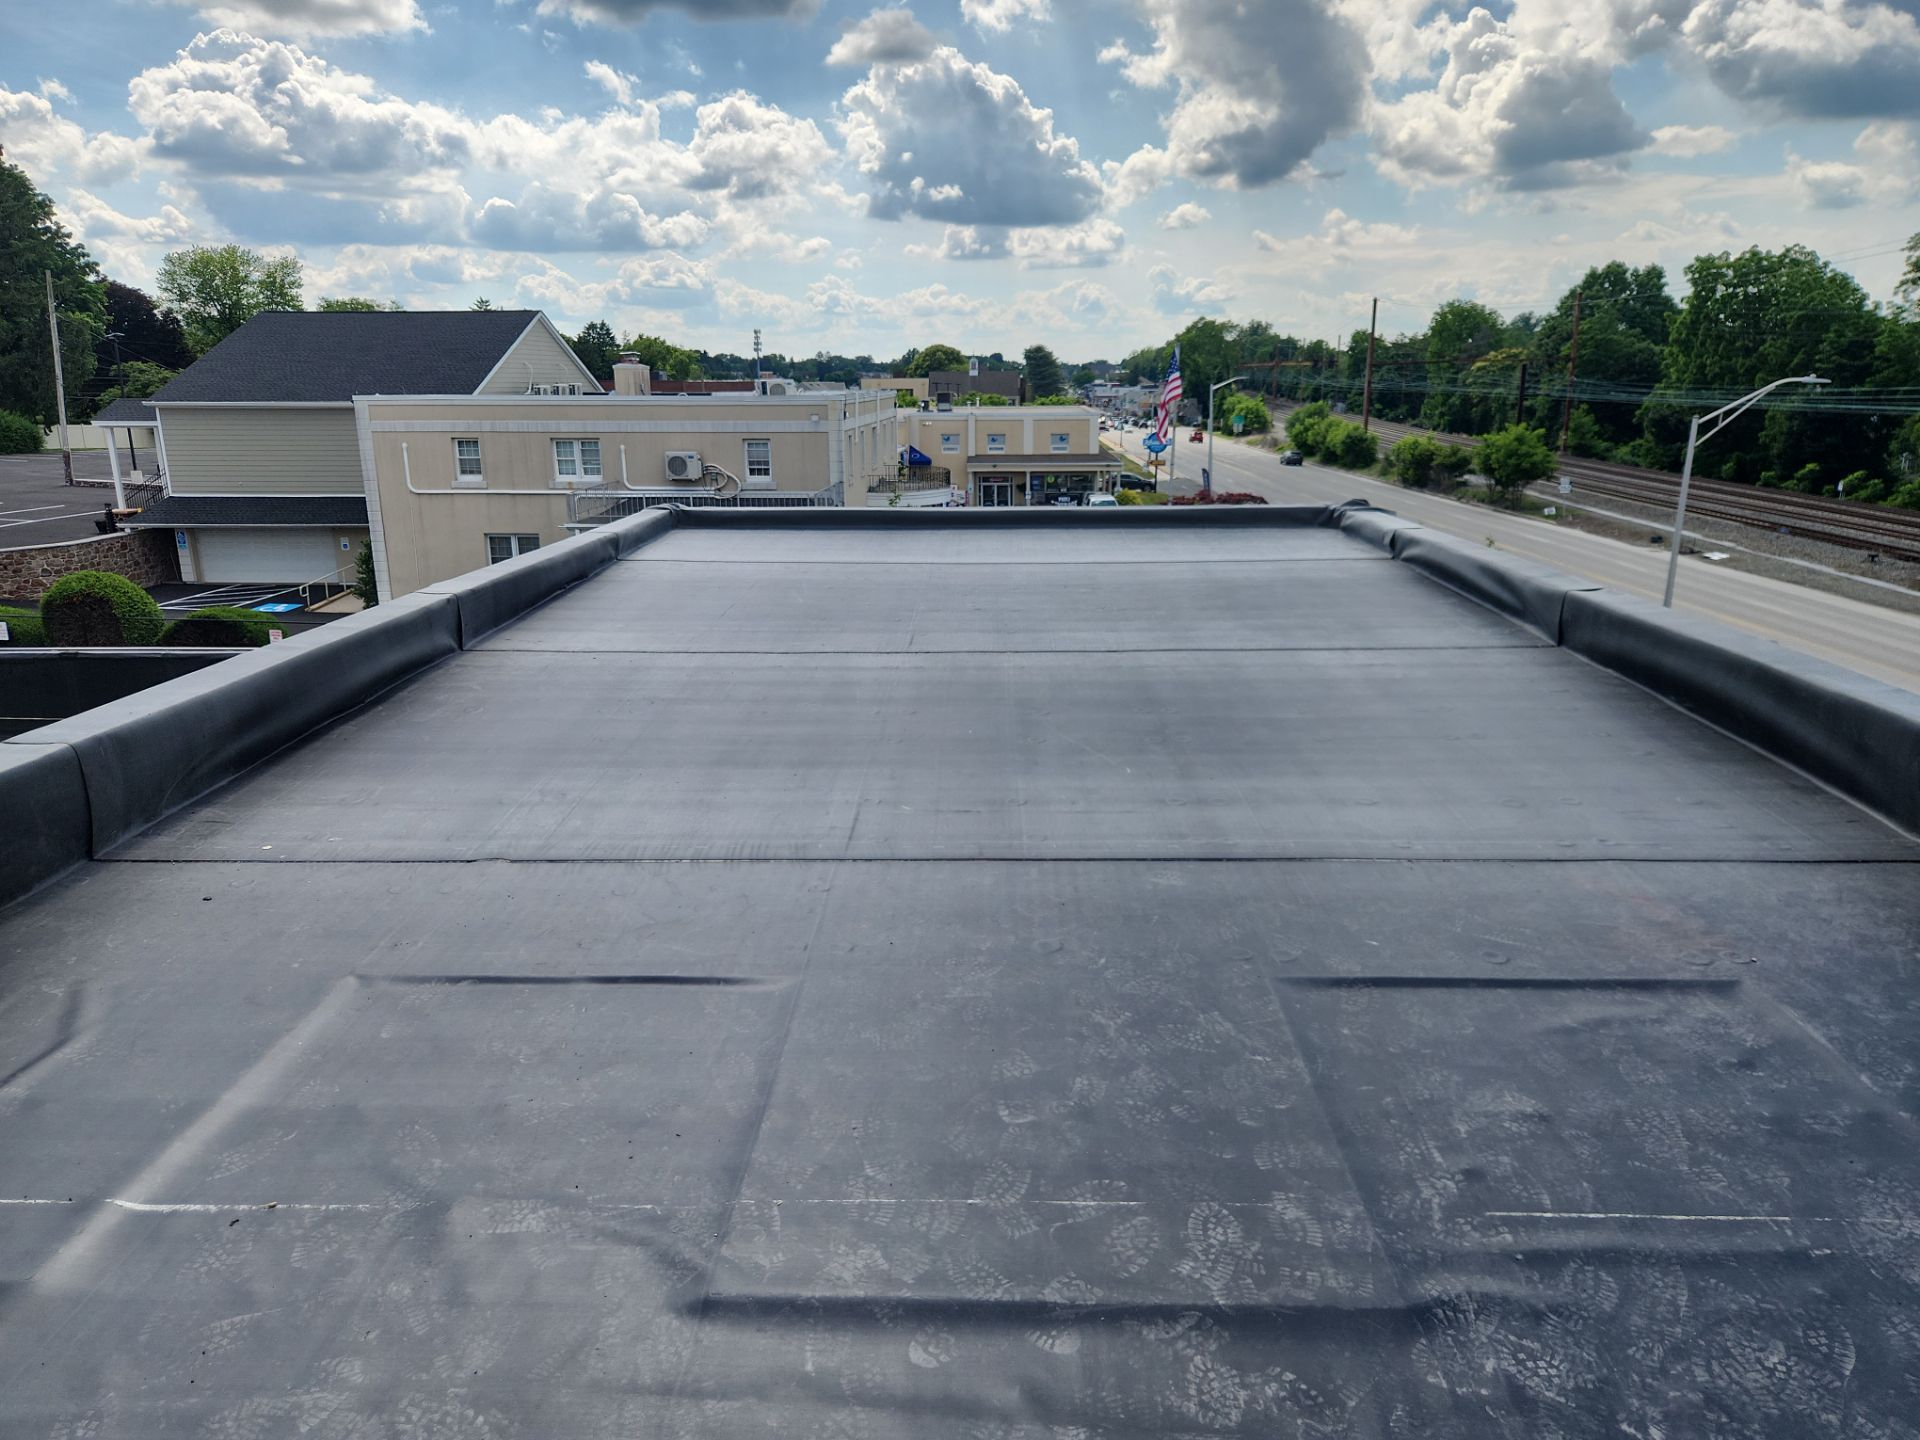
🧾 2. Choosing Your Roofing Materials
You’ll choose the type of roofing system that fits your needs, style, and budget. Popular options include:
-
Asphalt shingles (affordable and widely used)
-
Metal roofing (durable and energy-efficient)
-
Tile or slate (long-lasting, upscale look)
-
TPO or EPDM (flat or low-slope commercial roofs)
PV Exteriors works with top manufacturers to provide high-quality, warranty-backed materials suited for your local climate.
📅 3. Scheduling and Preparation
Once you approve the quote and materials are ordered, PV Exteriors will schedule your replacement date. In the days leading up to the project:
-
Move vehicles out of the driveway
-
Protect items in your attic
-
Remove wall decorations (vibrations may occur)
-
Inform neighbors about the upcoming work
Expect some noise and activity—roof replacement is a construction project, after all!
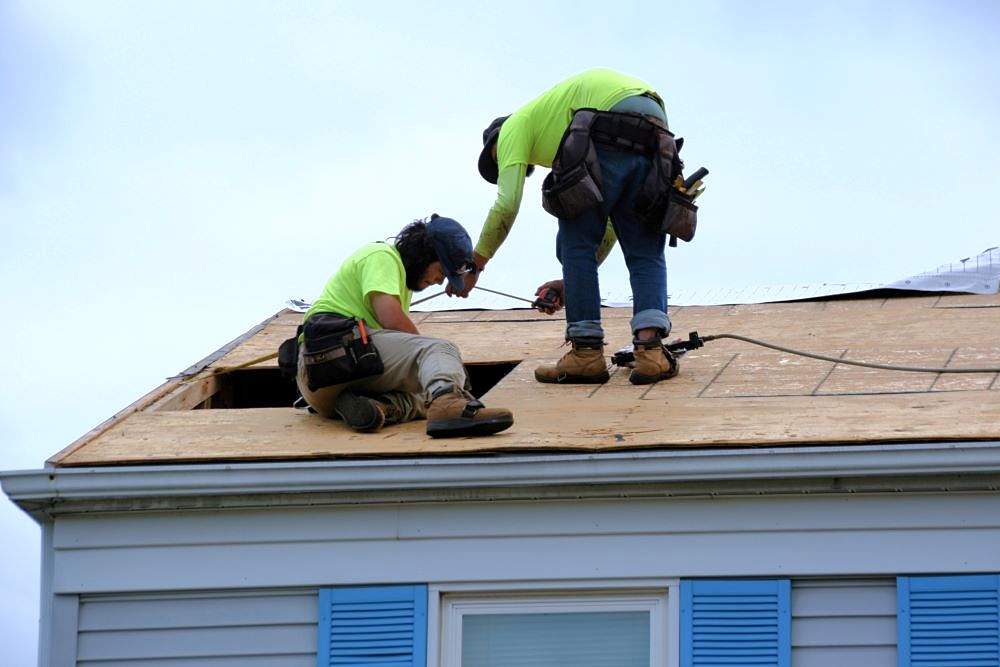
🔨 4. Roof Removal (Tear-Off Phase)
On installation day, the PV Exteriors crew will:
-
Remove old shingles and underlayment down to the decking
-
Inspect and repair the roof deck if needed
-
Install new underlayment and flashing to seal vulnerable areas
Depending on the size and complexity of the roof, this step can take 1–2 days.
🏗️ 5. Roof Installation
Next comes the installation of your new roofing system:
-
Shingles or roofing panels are installed from the bottom up
-
Ridge vents and other ventilation components are added
-
Seals and flashing are applied to chimneys, vents, and valleys
The PV Exteriors team works efficiently and with precision to ensure the roof is watertight and built to last.
🧹 6. Clean-Up and Final Inspection
After installation, PV Exteriors will:
-
Clean up all debris and stray nails using magnetic rollers
-
Haul away old materials
-
Conduct a final walkthrough with you to ensure satisfaction
-
Provide warranty documentation
📋 7. Post-Installation Tips
Once your roof is installed:
-
Register your manufacturer’s warranty
-
Keep your paperwork and receipts for insurance
-
Schedule periodic inspections (especially after storms)
✅ Final Thoughts: Know What to Expect, Avoid Surprises
A roof replacement doesn’t have to be stressful. When you understand the process and work with a reputable contractor like PV Exteriors, you can expect a smooth experience—and a roof that will protect your home for decades.
Ready to replace your roof? Contact PV Exteriors today for a free inspection and expert guidance from a team that puts quality and customer service first.
📞 (717) 617-7878
🌐 pv-exteriors.com