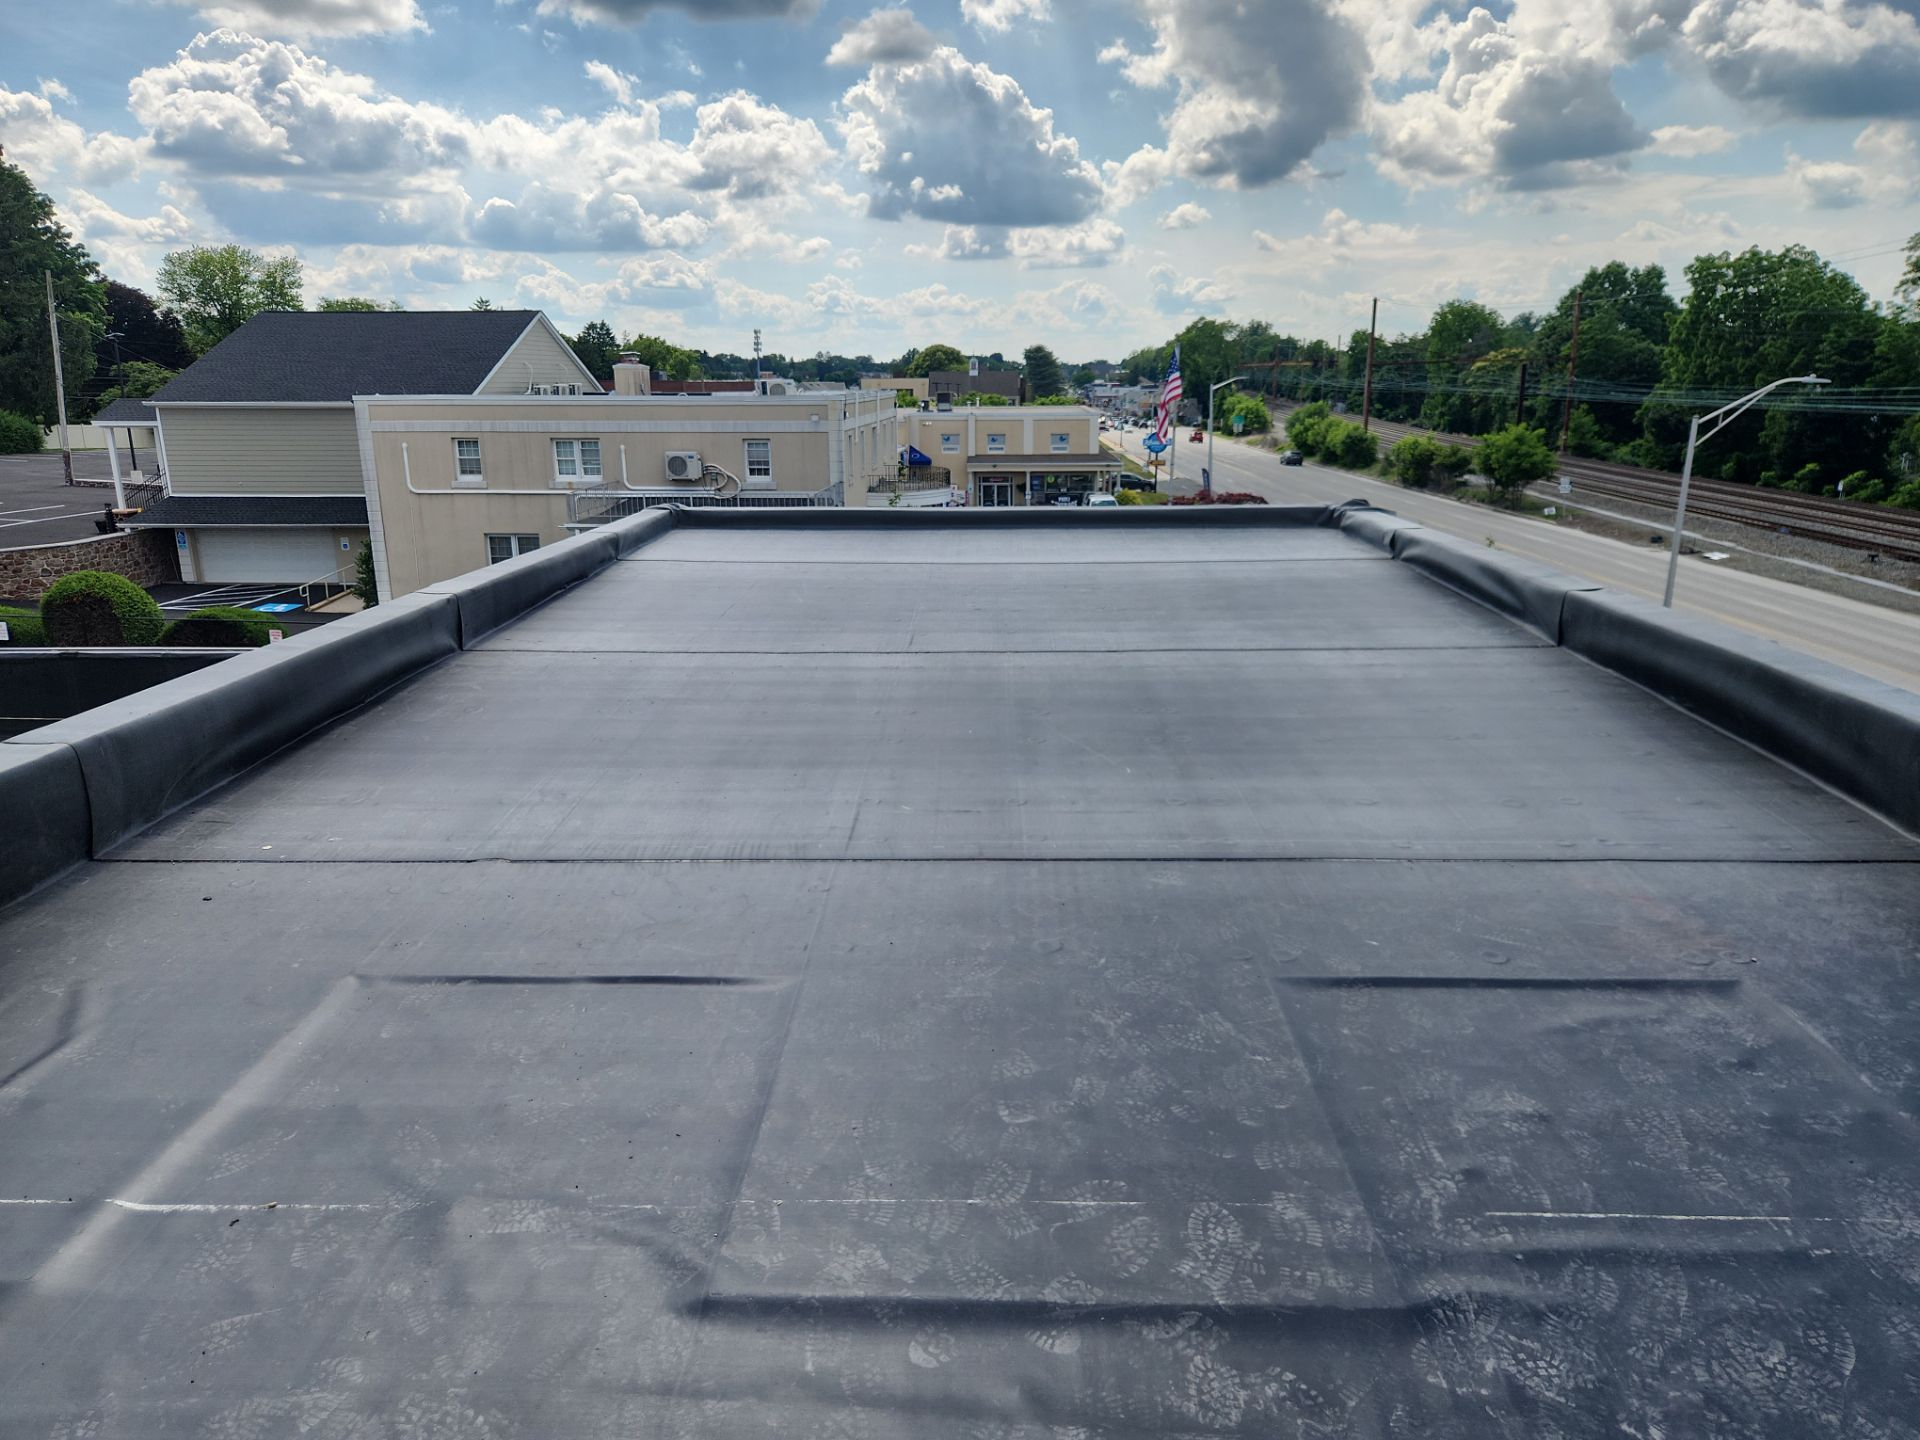
Rubber roofs, also known as EPDM (ethylene propylene diene monomer) roofs, are a popular choice for flat and low-slope roofs due to their durability and weather resistance. However, like any roofing material, rubber roofs can develop leaks, punctures, or other issues over time. If you’re experiencing problems with your rubber roof, this guide will walk you through the steps to fix it effectively.
Common Issues with Rubber Roofs
Before starting any repairs, it’s essential to identify the problem. Here are some common rubber roof issues:
- Leaks and punctures – Caused by sharp objects, heavy foot traffic, or weather damage.
- Seam separation – Over time, seams can weaken and start to pull apart, allowing water to seep in.
- Blisters and bubbles – Trapped moisture or poor installation can lead to blistering.
- Cracks and shrinkage – Exposure to UV rays and extreme weather can cause the rubber to dry out and crack.
Step-by-Step Guide to Fixing a Rubber Roof
1. Clean the Affected Area
Before making any repairs, ensure the damaged area is clean and dry. Use a brush or cloth to remove debris, dirt, and any loose materials. A mild detergent mixed with water can help remove stubborn grime. Allow the surface to dry completely.
2. Inspect for Damage
Carefully examine the roof for cracks, punctures, or seam separation. Small punctures and cracks can be easily fixed, while larger damage may require professional assistance.
3. Apply a Rubber Roof Patch
For minor leaks and small punctures:
- Cut a patch from an EPDM rubber roofing membrane slightly larger than the damaged area.
- Apply a rubber roof adhesive or primer around the affected area.
- Press the patch firmly onto the adhesive and smooth out any air bubbles.
- Use a roller to ensure proper adhesion.
4. Seal the Seams
If you notice seam separation:
- Apply EPDM seam tape along the gap.
- Use a seam primer to enhance adhesion.
- Press the tape firmly into place, ensuring there are no gaps where water can seep in.
5. Address Blisters and Bubbles
For blisters caused by trapped moisture:
- Carefully cut a small slit in the bubble to allow trapped air or water to escape.
- Dry the area thoroughly before applying a patch and adhesive.
6. Apply a Protective Coating
To extend the life of your rubber roof and prevent future damage, consider applying a rubber roof sealant. This helps protect against UV rays, weathering, and leaks.
When to Call a Professional
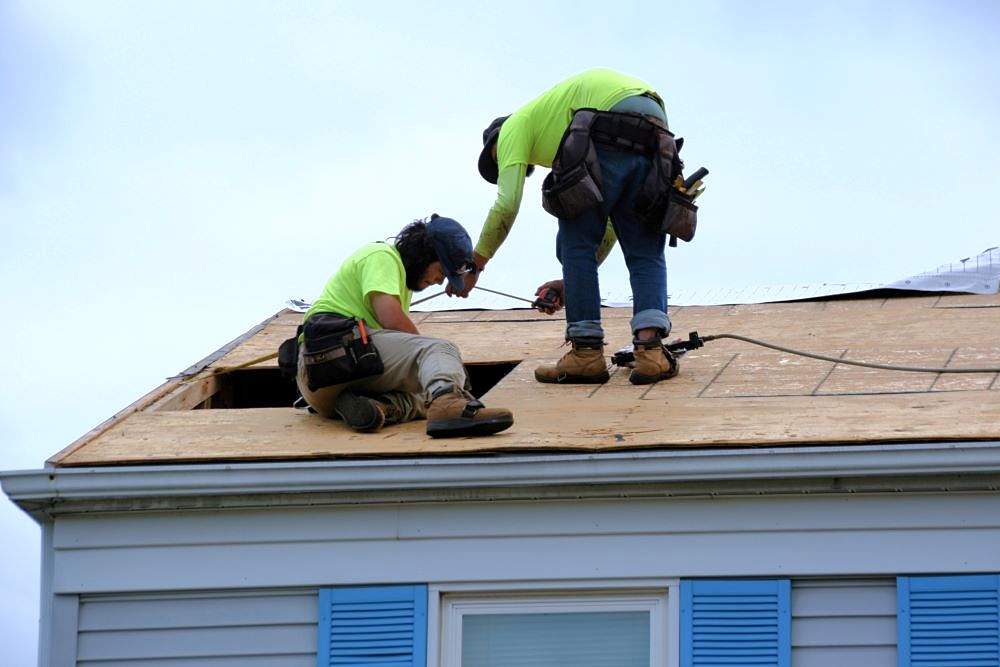
While DIY repairs can handle minor issues, larger problems such as widespread cracking, severe seam separation, or structural concerns should be addressed by a professional. At PV Exteriors, we specialize in rubber roof repairs and replacements, ensuring your roof stays watertight and durable for years to come.
Preventative Maintenance Tips
To avoid frequent repairs, follow these maintenance tips:
- Inspect your roof regularly for signs of wear and tear.
- Keep the roof clean by removing debris and standing water.
- Address small issues promptly before they become major problems.
- Schedule professional inspections to ensure your rubber roof remains in top condition.
Need Help Fixing a Rubber Roof?
If you’re dealing with a damaged rubber roof, PV Exteriors is here to help. Our experienced team provides expert repairs, maintenance, and full roof replacements to keep your home or business protected. Contact us today for a free inspection and estimate!
By following these steps and working with professionals when needed, you can extend the lifespan of your rubber roof and maintain a leak-free, durable roofing system.


